Showing posts with label Kacey's House. Show all posts

Wednesday, April 23, 2014

Baby Room Update! DIY Shelves for Kacey's Nursery

Ok kids! Here are the fun shelves Kate and I ended up painting for the Baby's room! They turned out so cute and pretty, and I just had to share them with you!


Step 1: Buy these $7.99 shelves from Ikea.  They come with metal hinges and are super easy to drill into the wall.

Step 2: Dry brush an antique white paint onto all sides of the shelves.  Use a large dry paint brush and dip a small amount of paint onto it.  Then brush it on to the shelf in a coarse, carefree manner.  It creates a lovely farmhouse feel to the shelves. Let dry (doesn't take long!).

Step 3:  Decide what shapes you want to paint onto the shelves so you can tape off the patterns.  We used painters tape. You need to paint on all sides of shelf because you'll be able to see the bottom as well as the top.  This was the fun creative part! We went with some simple stripes on one, and got funky and whimsical on the third!

Step 4:  Paint! We chose 4 different colors from Michaels, but the world is your oyster on this one. 


You need to go slow and really plan out which color should go where.  The paint dries fairly quickly though, so this project can be accomplished in one afternoon!


And before you know it...the tape comes off and.....voila!!


3 fun, different, whimsical shelves!


This baby hasn't even arrived yet, and I've already managed to fill up all available space:)


Enjoy crafting!! I know I did...this one was a fun one!

Love!
Kacey

Tuesday, March 25, 2014

BABY room Update!

Time for a BABY ROOM update!

I've been assembling pieces from all over the South Bay (and Etsy:)) for this little lady's room. (slash workout room, slash office).  

Remember my inspiration blog for the nursery?

Since then, here is what I've got goin'...

Number 1: The Crib!


We are in love with this crib so far! It was so easy to put together, the grey is PERFECT in the room, and it's streamlined and not too big for a small nursery.

Number 2: Driftwood Rods!


I wish we had access and time for foraging for our own driftwood.  Very possible if you have access to rivers, beaches.  BUT when in doubt...there is always ETSY!  Can't wait to get these rods up and have some fun decorating!

Number 3: Star Decals! 


I'm waiting to get our Blush and Ivory Decals to put above the crib on all that empty wall space. Stay tuned!

Number 4: Shelving!


These Ikea Floating Shelves were $7.99!  I cannot WAIT to DIY them up with paint, stain, leafing, who knows?!?  

Number 5: Ivory Sheepskin Rug!


So this Ikea Faux Ivory Sheepskin Rug was $9.99.  It was almost identical to the real ones they have for $29.99.  I went with the money saver!

Number 6: Lighting!


We chose this Pottery Barn Capiz Flower Pendant to hang as well.  I can't wait for it to arrive!

And finally Number 7: Mirror Rehab!

Here is the mirror we have hanging now: 


It's a little dark and heavy for the room right now.  

Here is what I saw antiquing the other day and got INSPIRED!!


Phew.  That's what's going on in my house these days...LOTS of projects to DIY in the next few weeks!

Wish me luck, let me know if you have any tips or tricks as I go on this adventure!!
Love!
Kacey


Friday, March 14, 2014

St. Patty's Day O'FUN!!! Ombre "Lucky" Sign


Who doesn't looooove a good holiday project??

I gotta be honest, I was having some trouble coming up with a fun St. Patrick's day project.  I didn't want shamrocks and pots of gold this year...just something classy, vintage-y, and fun to spruce up my house and invite the Luck O' The Irish in:)

(Side note: did you know that St. Patrick's Day is an official Christian holiday celebrating the arrival of Christianity in Ireland?  It always falls during Lent, and the Church lifts the restrictions on eating and drinking alcohol for this one day! Hence the fun filled, green beer obsessed holiday that it has now become...).

Anyhoo, I finally got inspired on a random trip to Michaels as I was meandering down the wood and paint aisle. Recently I had seen these cool ombre candlesticks online and...

EUREKA!  I knew what I wanted to do this year!

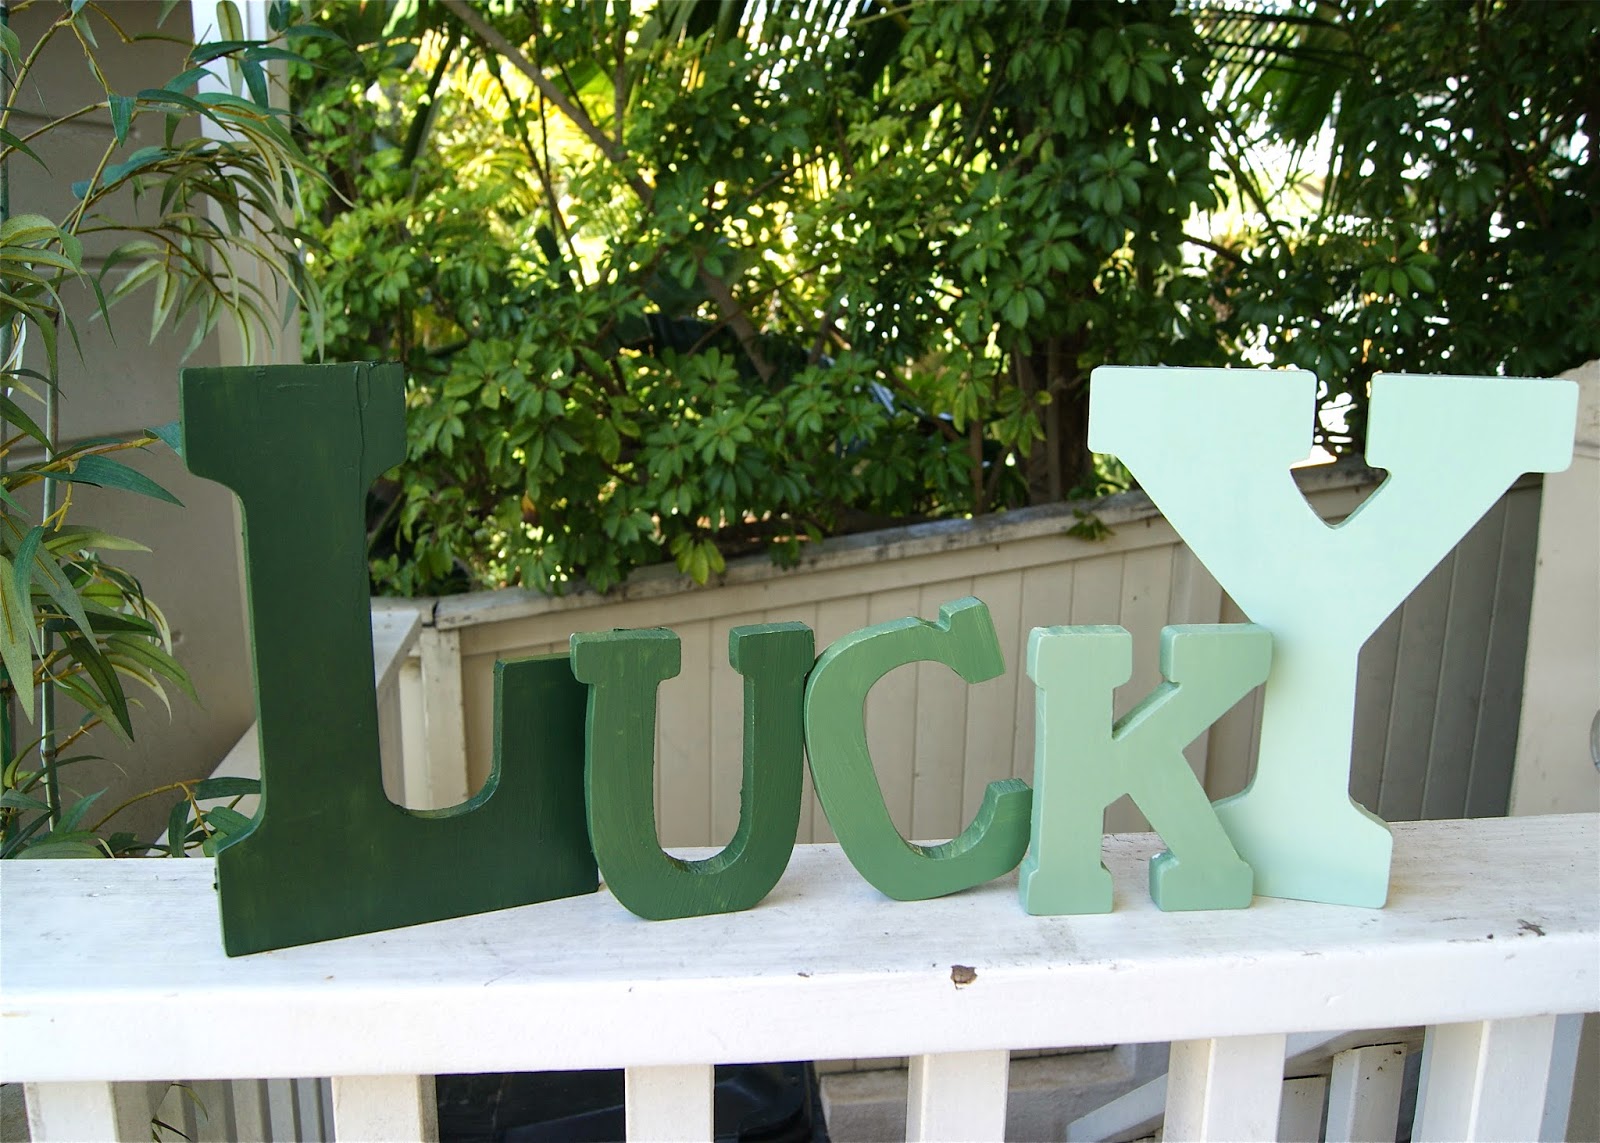
Ombre "LUCKY" letters!!  A fun little vignette to put up in the house...it's  pretty and reminds me of how "lucky" and blessed I am everyday:)  I thought adding the ombre look would spice it up a bit from just all one green color.  


SO.  I found the perfect wooden letters that would stand up on their own.  I chose a big L and Y to whimsy it up a bit.


I laid out the letters at home, along with the dark green and white all purpose paint I decided on.


There are a ton of greens and types of paint to choose from...It's up to you how dark you want to start your letters.


Then I started painting!  I used the darkest green on the 'L'.  A plastic bowl was perfect to hold the paint as I slowly added dollops of white to the green color to lighten it up.  A little white goes a long way, but it's trial and error to find the perfect ascending shades of green that you want for your sign.


I think the K could be just a scosh darker after I saw the final dried finish. I'll have to do that next time! 

This project was less than $20, and it was so much fun to get my hands dirty with some good old fashioned painting!  Like being a kid again!  I will DEFINITELY have to do a project like this with my daughter some day:)


Happy Irish Day!!
Kacey

Tuesday, March 4, 2014

Baby Room Inspiration!

We're expecting a sweet little girl in May, and it can be so easy to get lost in a sea of pink the second friends and family find out:)

I really want to create a space in our tiny second bedroom that is girly, but still functional for other things (aka part time office, workout room, Rossi's closet...eh hem...).

My sister in law, Natalie, sent me this picture... and I immediately fell in love with the color scheme! 


The subtle blush, almost champagne pink adds such a wonderful girl touch without going overboard.  Our walls are already sage green so I'm halfway there!  I want to bring in the beachy-driftwood element of the flooring...which I just found inspiration for:


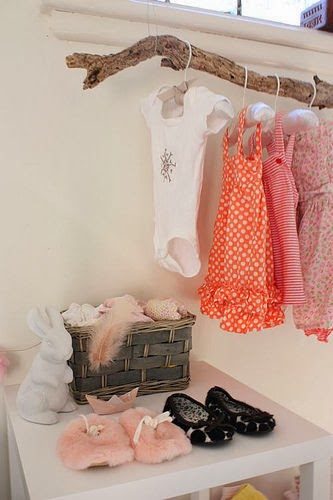
How cute is the driftwood hanger to show off some of her fabulous clothes?! I see DIY projects in my very near future:)  I still need to figure out how to get the blush into the room.  It will probably be in the crib sheets.  I had the absolute pleasure of attending my first baby shower in Arkansas last week and THIS was the handmade table cloth our dear friends Tawana and Lynette had made:


IS it NOT the prettiest thing you've ever seen?  I now need that for my crib skirt!!!

I'll keep y'all posted on how this small space nursery turns out...wish me luck!!

LOVE LOVE:)
Kacey